Fab-Assist/QC-Assist Overview
The Fab-Assist/QC-Assist tool allows the fabricator to use the tablet’s Augmented Reality (AR) feature to view the completed assembly. This allows the fabricator to view what and where the work needs to be performed.
The easiest way to get well versed with this Fab-Assist is to check our video below:
Thank you for checking the video! Below, we will also provide you with the overview of the features shown in the video instructions.
Preparations Before Alignment (Select Part feature)
Before starting the alignment, make sure that the main part is correct and has a proper rotation.
To ensure successful alignment, it’s best practice to first check the 3D Viewer.
The Main Part is used for alignment and always highlighted in blue.
Click here to learn more about Select Part feature.

Get Started with AR
To get started with the Fab-Assist or QC-Assist features:
1. Select either Fabricate, Inspect or View from the Home screen.
2 Select an assembly on the Assembly Select screen. You will be taken to Fabricate, Inspect or View screens, depending on which path you have chosen.
3. Click on either Fab-Assist for Fabricate or View paths, or QC-Assist for Inspect path.
Place and Scan QR Target
You need to place the provided QR Target at the starting point of the material you are working on.
Click here to learn more about working with QR target.
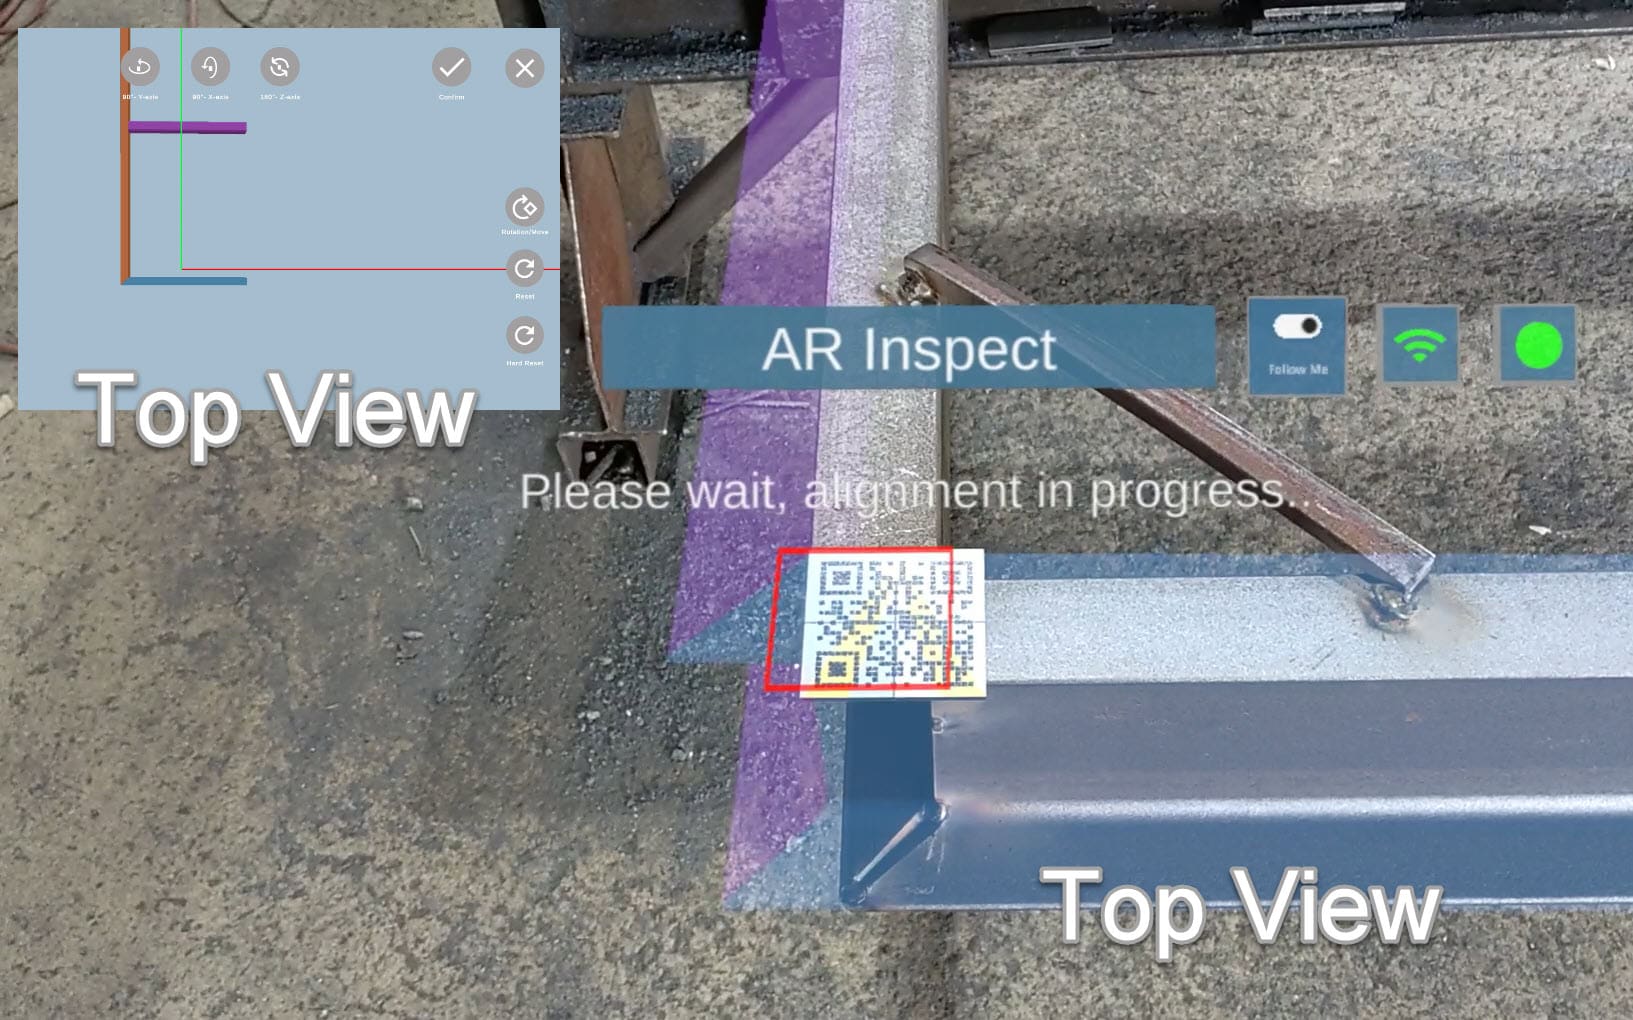
Once Fab-Assist or QC-Assist are selected, the augmented reality window will open and show a “Scan QR Code” message. Point the camera at the QR target and the 3D object will be placed on the material.
The QR target must be placed in a horizontal position. If the assembly is in a vertical orientation, the 3D model can be rotated to match.
Place AF Magnets and Map the Area
Make sure to place the AF (Artificial Feature) magnets across the assembly, along with setting the QR code.
Click here to learn more about placing AF magnets.
Once the QR code is scanned, there will be a prompt to map the area.
As the mapping button is pressed, you need to walk along the assembly, ensuring that only three sides of it are covered, and the maximum range is 30 feet by 6 feet.
Click here to learn more about mapping.

Align Material with AR Image
With the 3D model overlaid on the material, you can enter Fab-Assist/AR and select the menu buttons to adjust the alignment and guide the model precisely over the material.
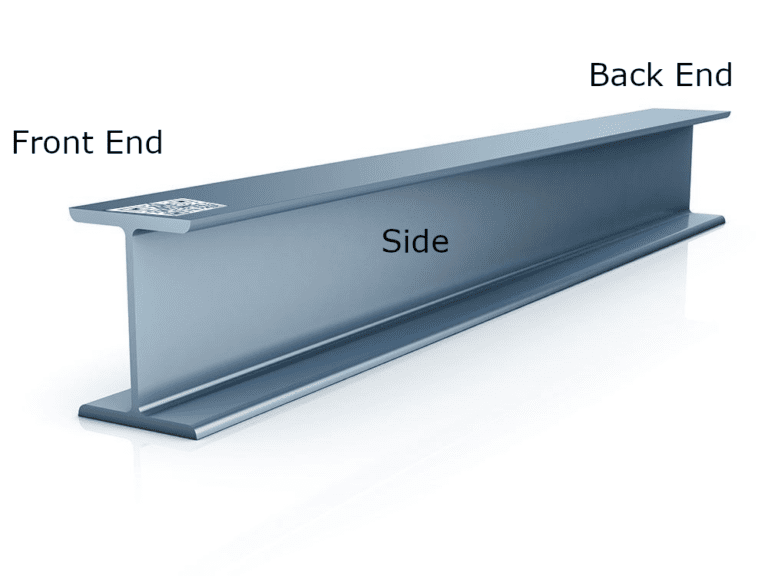
Start the alignment at the front end where the QR code was placed, and move around the material to make adjustments.
Click here to learn more how to align material with AR image.

Augmented Reality Alignment Menus
The AR alignment menus allow the user to make adjustments to the 3D model in order to align the position of the model with the actual material. This process normally takes 2-3 minutes and should result in a near-perfect match between the digital assembly and the actual assembly.
The menus are divided into Main, Controls and Layer with the variety of tools that help to perfectly control the model and whole working process.
Click here to learn more about AR alignment menus.