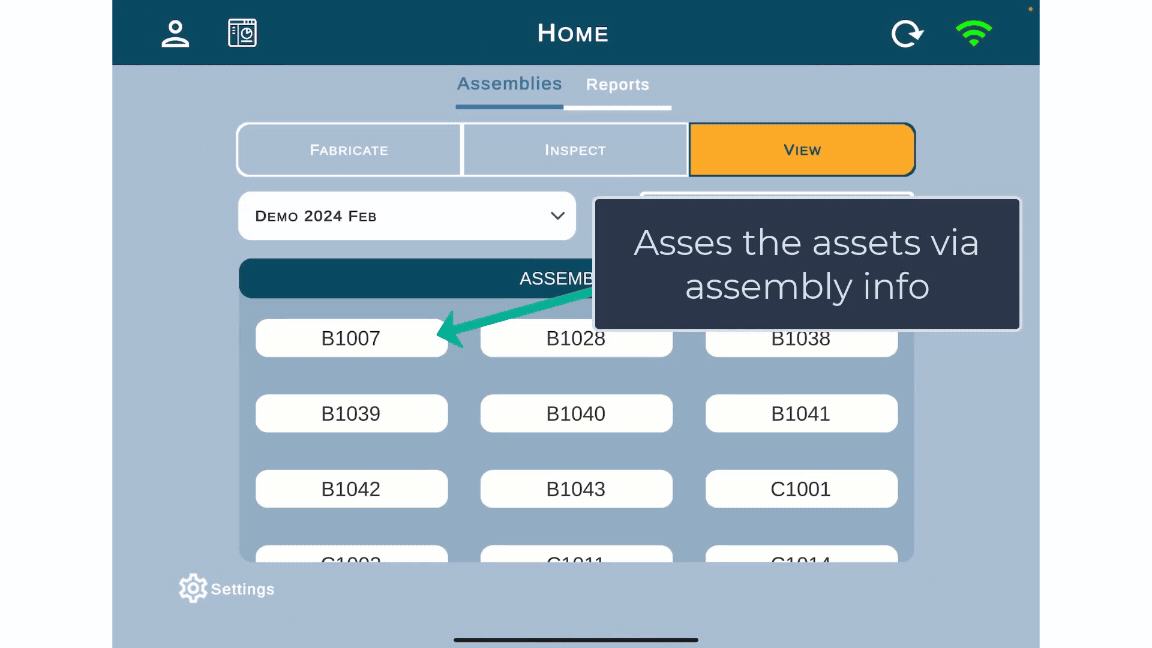
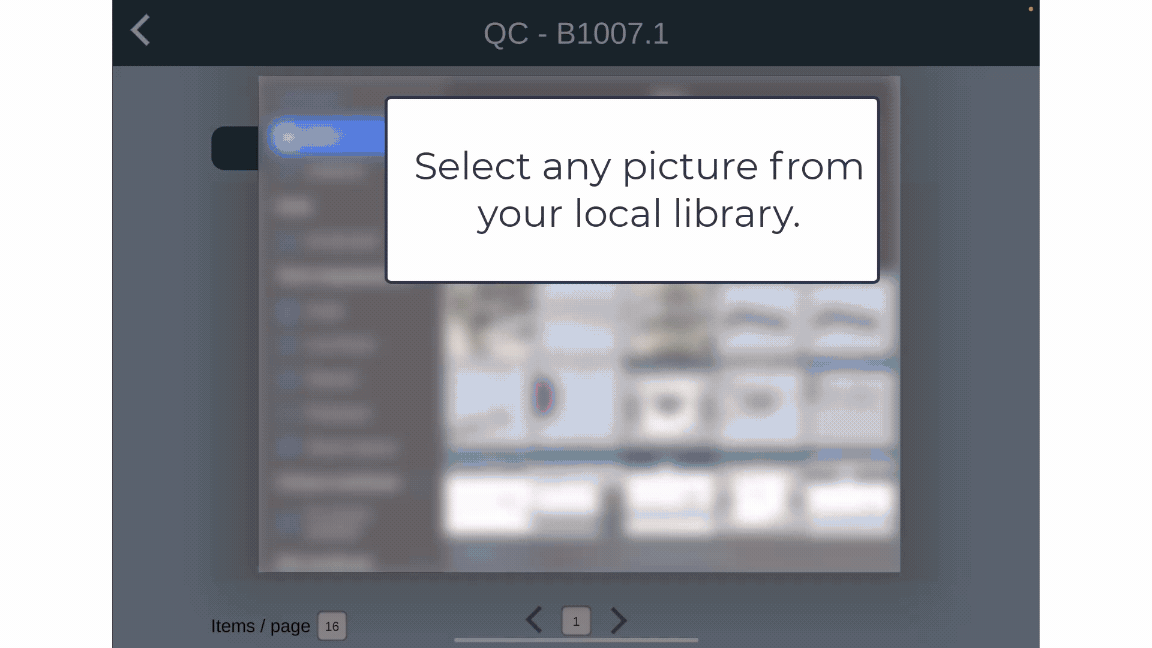
Assets Area


![]() Marker: Draw freely on the image. Choose a color and adjust the width of the line using the slider.
Marker: Draw freely on the image. Choose a color and adjust the width of the line using the slider.
![]() Shapes: Add lines, arrows, circles and squares. Change their color and thickness to fit your needs.
Shapes: Add lines, arrows, circles and squares. Change their color and thickness to fit your needs.
![]() Eraser: Remove any mistakes with the eraser tool.
Eraser: Remove any mistakes with the eraser tool.
![]() Text Box: Add text annotations.
Text Box: Add text annotations.
- Choose the text and background color.
- Click the text box to open the keyboard and type. Click “Done” on the keyboard to save your text.
- Click “Done” again to finalize the markup or “Cancel” to erase the text box.
![]() Arrow: Move existing shapes, lines, and text boxes to different locations on the photo
Arrow: Move existing shapes, lines, and text boxes to different locations on the photo