Placing and Scanning QR Target
Placing and Scanning QR Target
To start working with Fab-Assist/AR Inspect tools, you need to:
- Place a QR target on the material;
- Scan QR to identify it and place a 3D object on it.
In this article, you will be able to learn how to perform both of the steps mentioned above.
Don’t have a QR target? Click here.
Place QR Target on the Material
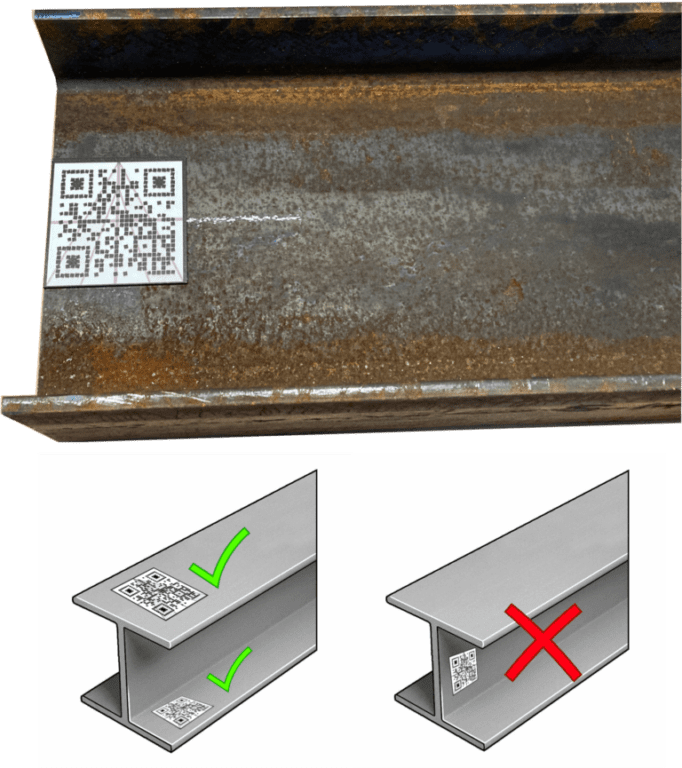
1. Place the provided QR Target at the starting point of the material you are working on.
2. Make sure to use the crosshairs on the target to align the target properly. Best practice is to draw a centerline on the material you are working on and place the target on the edge of the material with crosshairs aligned to the centerline:


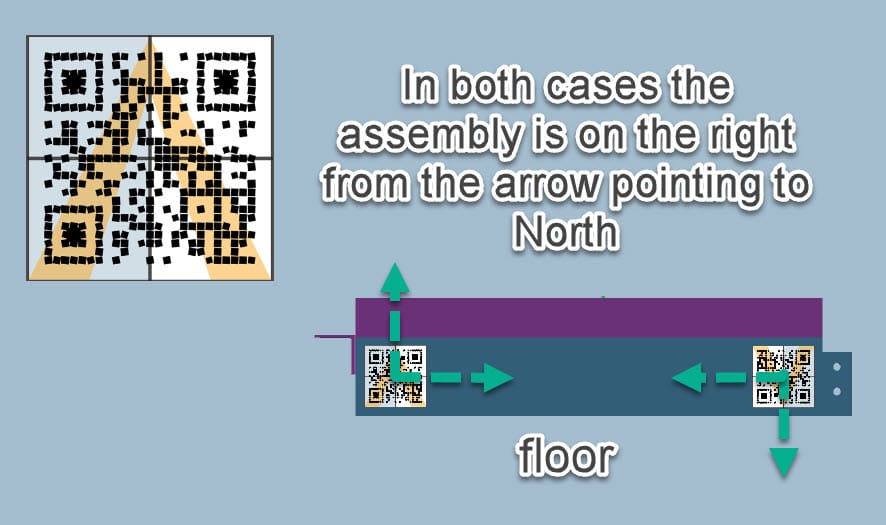
The target must be placed in a horizontal position. If the assembly is in a vertical orientation, the 3D model can be rotated to match.

Ensure the QR is flush with the edge of the material. If the AR model is at an angle, you may need to rotate the QR target slightly to bring it parallel to the material.
Scan QR to place 3D Object
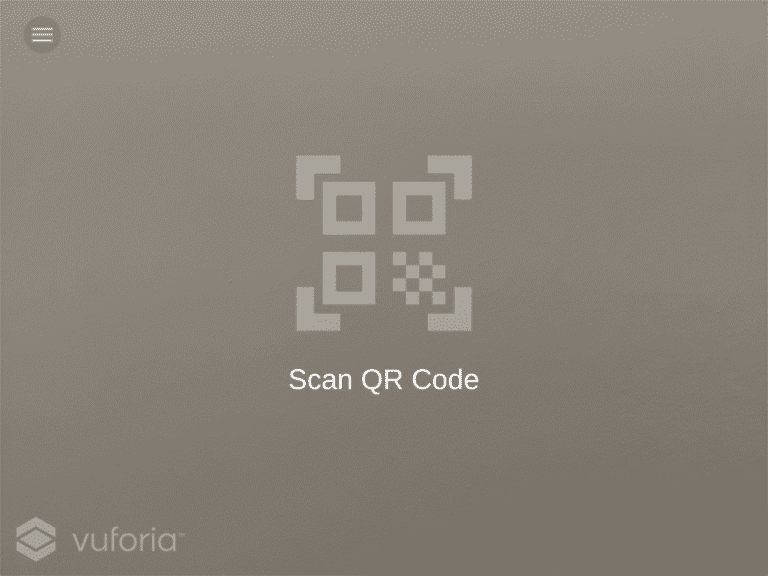
1. Select Fab-Assist or AR Inspect following Get started part here. The augmented reality window will open and show a “Scan QR Code” message.
2. Point the camera at the QR target and the 3D object will be placed on the material.

When work with QR is done, you can proceed with the rest of the steps described here.